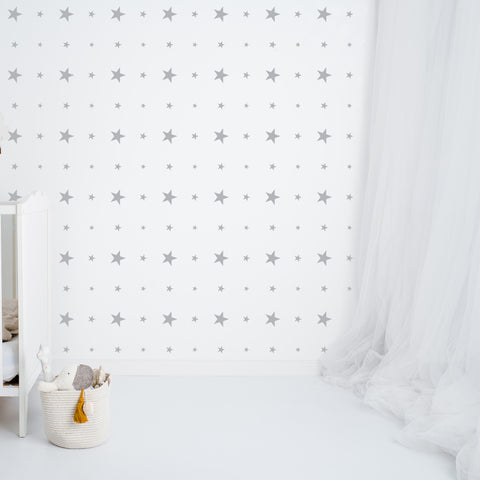
Shape wall stickers are one of our bestselling categories. The reason why? They're so easy to apply and versatile! You can create so many different patterns and designs to create the unique feature wall of your dreams.
In this post, you'll find six different ways to decorate with the shape wall sticker of your choice. So if you're looking for a bit of inspiration and the top how-to tips on where to start. Then read on to find out how to apply the design that appeals to you.
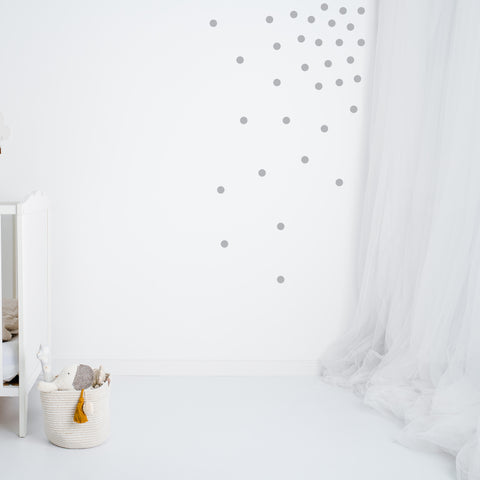
Corner clusters
Begin by clustering your wall stickers from a corner start point. Place stickers on a cross ways diagonal from the last one you placed, ensuring there is even distance. You can then start to add more space between them as you work the design down the wall.
It best to use simple shapes for this type of design - circles, stars, sprinkles, triangles, crosses or brush strokes all work well. It doesn't matter which way up these shapes are placed.
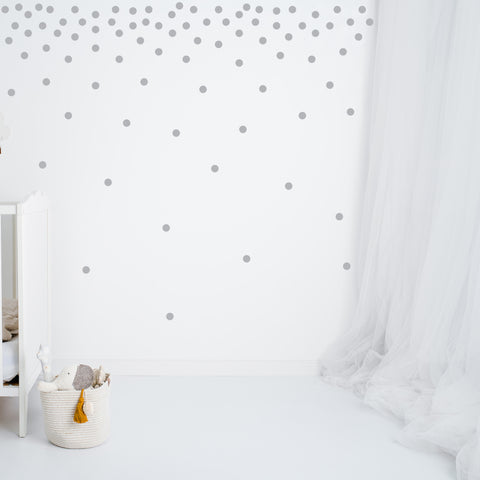
Waterfall
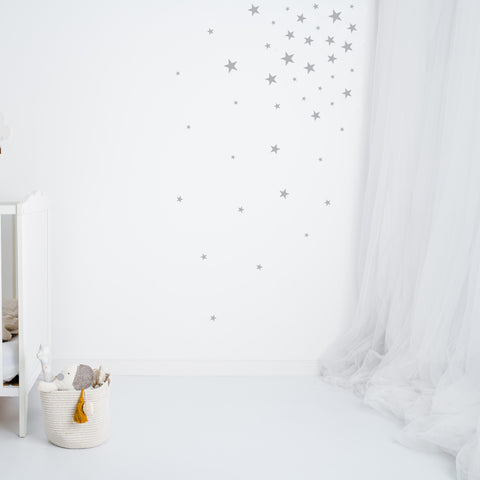
This waterfall design looks as if the stickers are cascading down the wall and makes for such a pretty and striking feature!
As you would do with the corner cluster, start by adding more stickers to the top of the wall. Place each sticker at a slant next to the last one you placed. As you move down the wall continue to add more space between the stickers and end with much bigger gaps at the bottom.
This design works great when you have furniture below as it allows the focal point to be at the top of the wall where there isn't anything obscuring it.
Cluster around a focal point
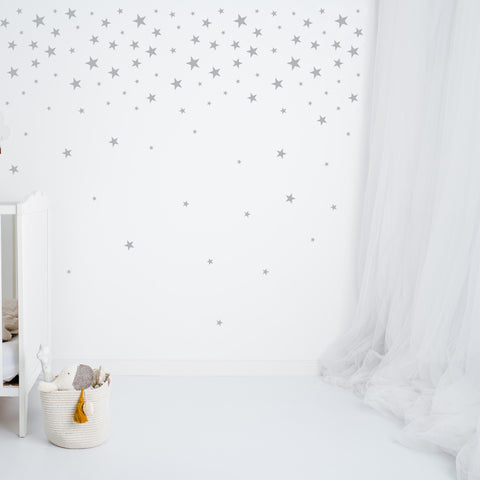
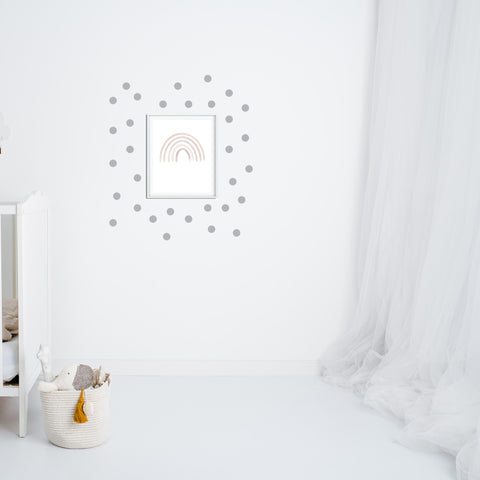
Continuing with the cluster theme you can also place your stickers around a focal point.
This could be an object you have on the wall such as a print, piece of art or unique decoration.
Us the same principles of placing the stickers crosswise from each other to get a good distance and the feel of the random cluster in your design.
Like I mentioned it's best to use simple shapes that will look great whichever way these stickers are placed for all the cluster designs. But hearts, leaves and terrazzo would also work well for this design of a feature around an object.
Random pattern
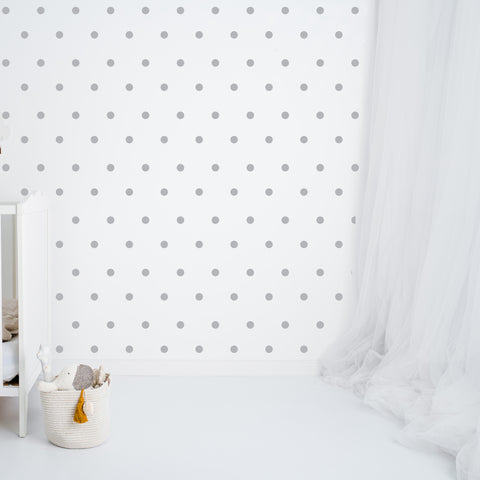
Create a seemingly random half-drop pattern by following a few easy rules. Place your first sticker and then place an additional four stickers at 45-degree angles from the middle of the first one. As you work across the wall you will be able to line up the middle, top and bottom stickers from the first design you created.
You could also mix up the size of your stickers to play with this design further and add more visual interest.
Square pattern
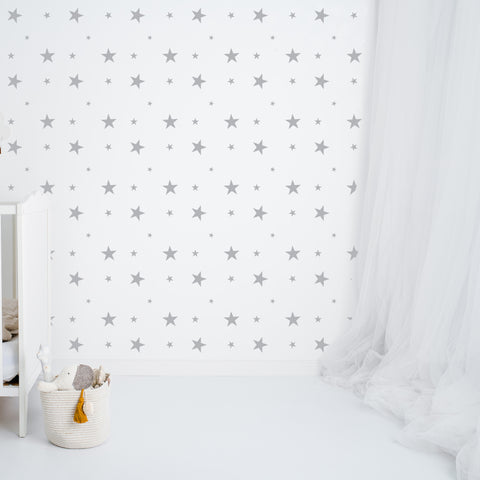
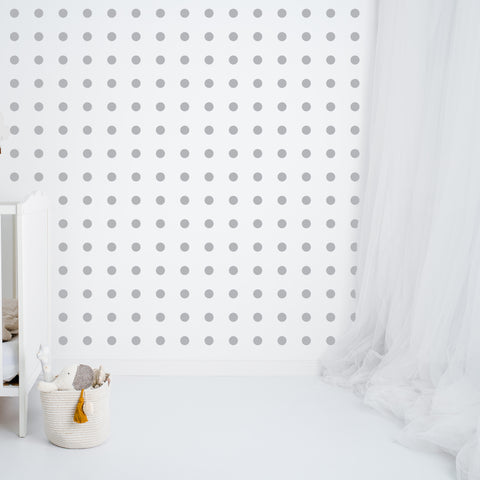
A simple but striking pattern is using a square design. To easily get the correct space between each sticker you can make a simple template. Cut a piece of paper to the distance you want between each sticker and use this to space your stickers out by placing them on the corner of the square template.
The square and random pattern will work well with any of the shape stickers as long as you keep them all facing the same way.
Mixed shape pattern
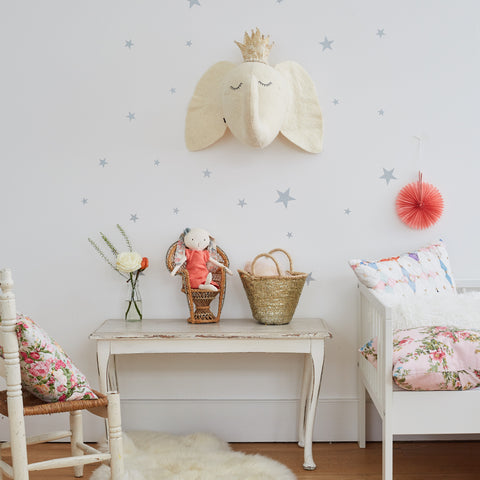
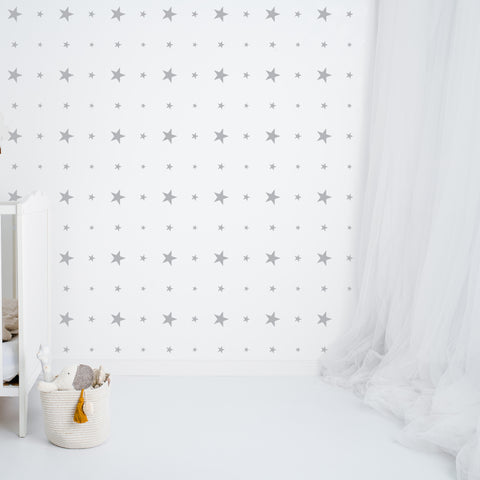
You can also have fun and mix different packs of shape stickers together! If you're planning on doing this then keep the shapes simple to ensure they work together.
Stars and dots work really well together. But you could also take two designs of stars such as the regular and starburst stars and mix these up.
We hope this has left you inspired and raring to go and create your preferred design! Please do share with us what you create by tagging your pictures with #nutmegwallart on Instagram @nutmegwallart as we'd love to feature you in our Instagram Lookbook!


1 comment
I have one of your beautiful rainbow window stickers….sadly it’s time to remove it now, what is the best way to do this please?