


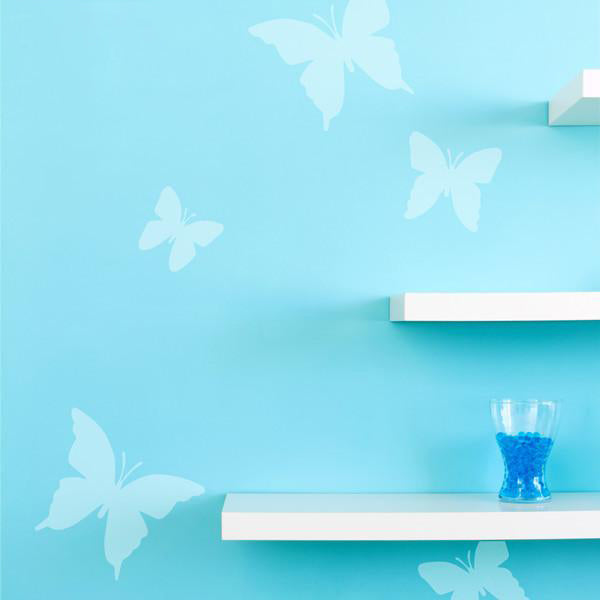
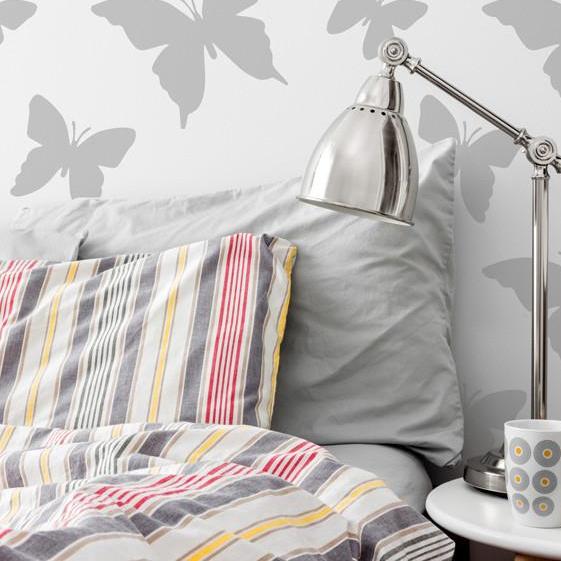
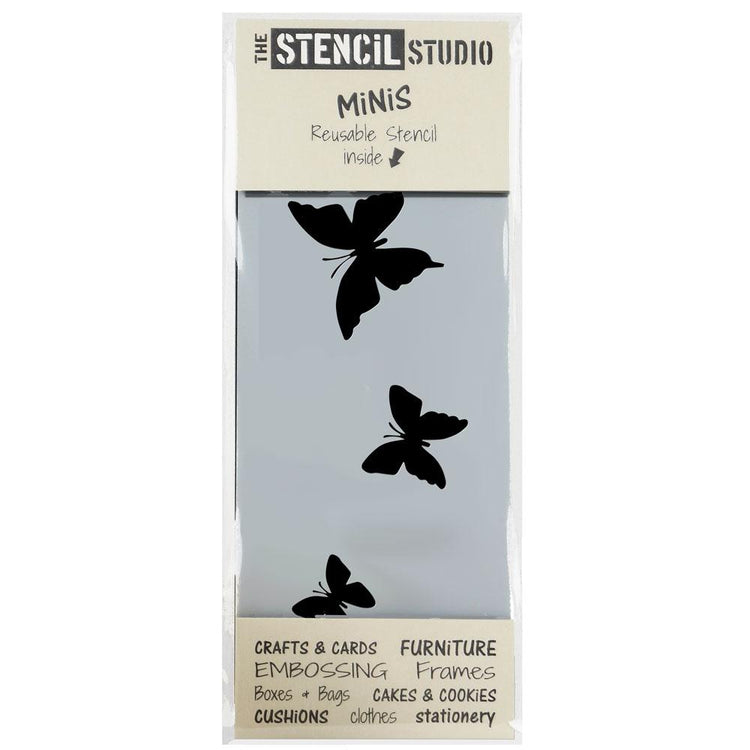
Butterflies Stencils
- Regular price
-
£4.38 - Regular price
-
- Sale price
-
£4.38
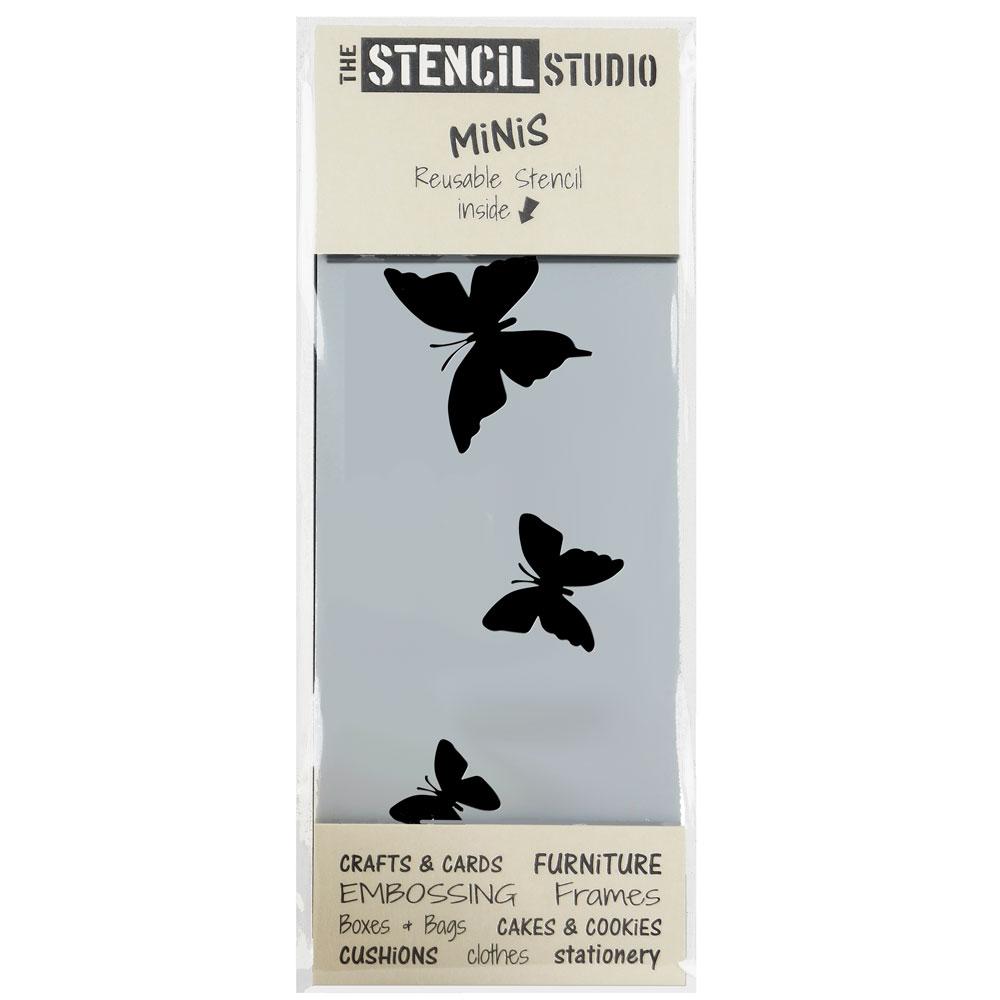
stencils
Our stencils are...
- Easy to use and reusable.
- Made from thick durable plastic Mylar (190 microns).
- Washable. Flexible.
- Suitable for use with all types of paint including enamel, acrylic, emulsion, spray-paint and more.
- Ideal for decorating any surface including tiles, walls, fabric, furniture and other craft projects.
- In Stock for fast dispatch.
- Made in the UK.
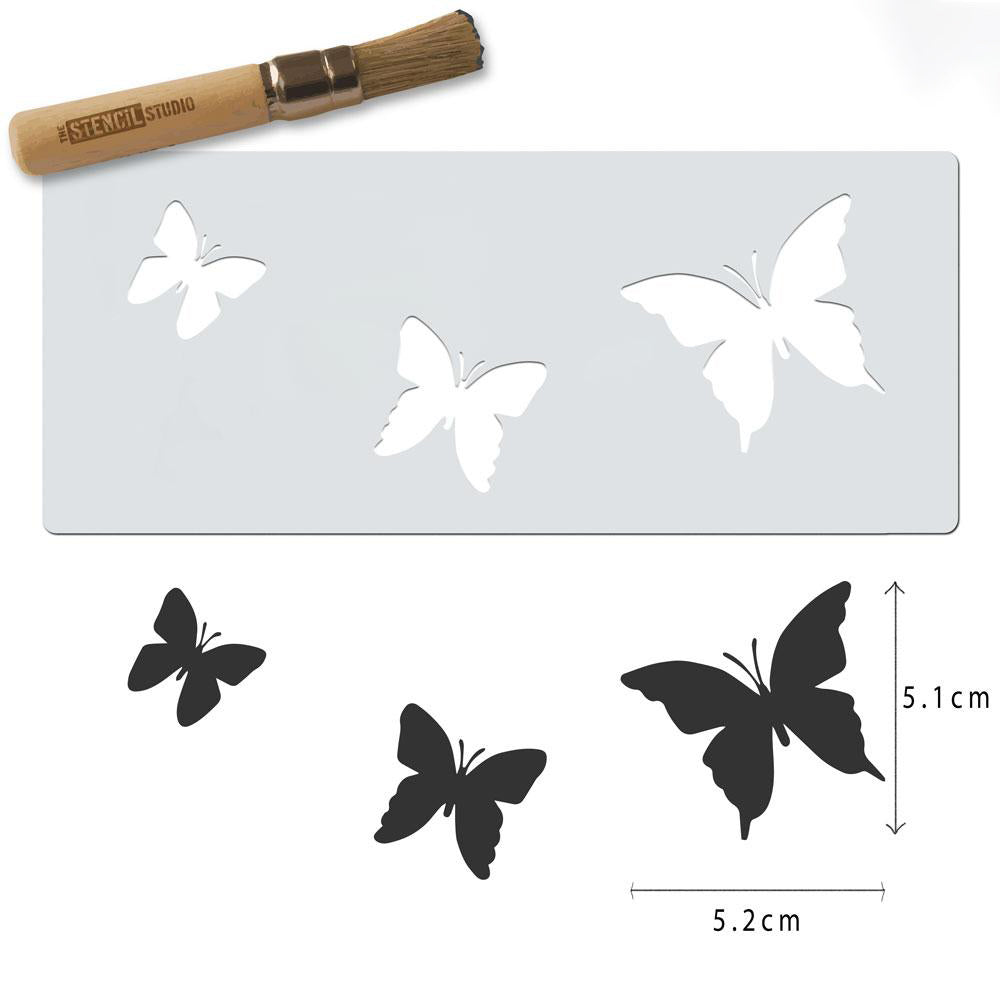
The size information above refers to the actual size of the stencil design. The design will always be cut from a slightly larger sheet to allow for a border.
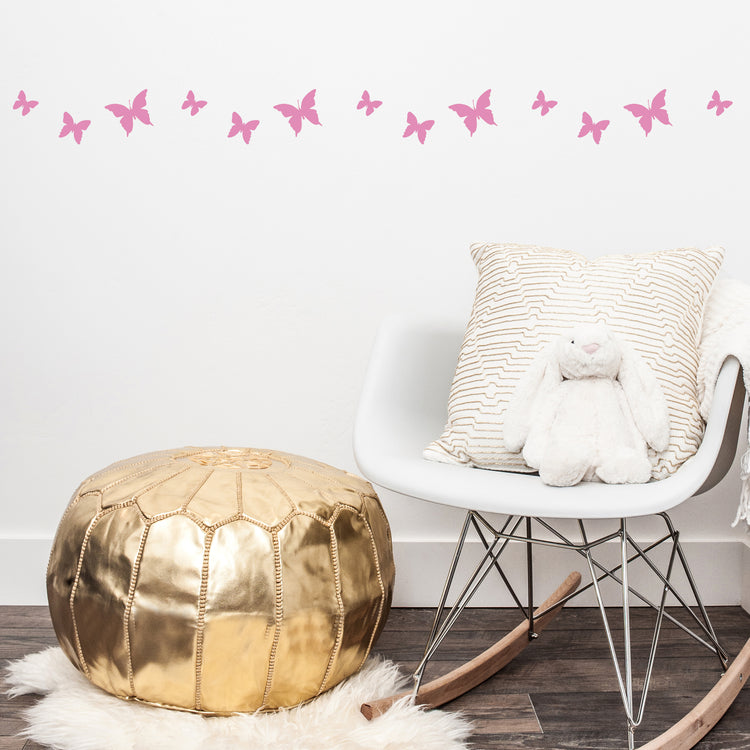
Stencils provide a versatile, cost effective and fun way to decorate your home. Stencil any surface including walls, tiles, fabric, furniture, floors and more. Just use the correct paint for the surface you are working on and get stencilling!Easy to use and reusable.
you will need
Paint- any thick paint will do, just use the correct paint for the surface you are working on. Acrylics and emulsions work well for walls.
Stencil Brush, dense foam roller or sponge - use a flat ended stencil brush for best results.
Low tack stencil tape or repositionable spray adhesive - for holding the stencil in place whilst you paint it.
A paper plate and some kitchen towel or scraps of paper for decanting paint and prepping the brush.
how to stencil
1 - Hold into position with small pieces of tape around the edge of the stencil to hold it in place whilst you paint. You could just hold the stencil with your free hand but it's important not to let the stencil move at all.
2 - Pour a little bit of paint onto a paper plate. You'll be surprised at how little paint you're going to need! Load the very end of the brush with some paint - then...
..remove most of the paint.
Simply blot and swirl the brush onto another part of the plate or some kitchen towel to distribute the paint evenly on the bristles and remove excess paint from the brush. You're aiming for a virtually dry brush here.
3 - Begin stenciling
Apply the brush to the stencil in a dabbing or swirling motion. A bit like a Woodpecker! Keep the brush upright and at 90 degrees to the stencil at all times.
Pay particular attention to the edges of each hole in the stencil. There are lots of cool shading techniques which we'll cover another day but to start with just concentrate on filling in all the cut parts of the stencil. Only reload the stencil brush when no more paint is available.
4- If you fancy adding another colour, go for it. To keep colours separate use another stencil brush and wait for the first colour to dry, but, if it's a blended look you're going for you could try adding a second colour whilst the first paint colour is still tacky and blending by overlapping with the second.
5- Once you've finished painting the stencil it's time for the big reveal! Just peel the stencil away and voila, you're an artist!!
Top Tip - Remove the stencil before paint dries, especially if the paint is quite thick. There is a danger of peeling paint from your stencilled surface if you allow a film of paint to dry across the stencil!
Couldn't load pickup availability


Let customers speak for us

Bought this again as had my front door replaced.
Love the sign, easy to apply, fast shipping.

Love them. They just look great around my light switches.

I bought the "wild flowers" to provide a little privacy in an upstairs bathroom. We're not overlooked, but do have the occasional dag walker go by.
It does exactly what we needed it to do and has added extra joy to our bathroom and view.
Couldn't be happier with this purchase 😁

Just what I wanted, arrived quickly and with great precise instructions.

Something so different, great quality and speedy delivery, put it on my husbands mirror

I love my peeping bunny window sticker. Reasonably priced and very easy to apply, with clear instructions included with the delivery. It’s on my office window at work but love it that much I ordered another two for my kitchen windows! Excellent service and quick delivery - would definitely recommend Nutmeg 🫶

I’ve been immensely impressed with my beautiful window stickers, excellent quality and customer service I’ll definitely be buying more.

Nutmeg are my #1 go to for any vinyls for my trade show. The quality, prices and turnaround time are second to none, and they also provide great customer service, couldn’t ask for more.

Simple to use, came off very easily and stuck to the wall very well. Highly recommend.

No more charger wars in our house, personalised peace has arrived in the shape of these fantastic charger and cable stickers. Everyone has their own colour with easily identifiable cables. There was loads of options for colours and fonts, they were delivered quickly and were so easy to apply. Really pleased with my purchase. Will definitely order again (when peace has been lost!!)

Such a lovely stickers for my grandson wall

Received such beautiful Christmas stickers , service and delivery excellent
Highly recommend this company , my grandson will loves the bear one ❤️


Thank you! Amazing service and product x
